- Listado UL 294 y 1034
- 12/24 V CC Tensión de funcionamiento
- Conexión no polarizada
- Ajuste horizontal
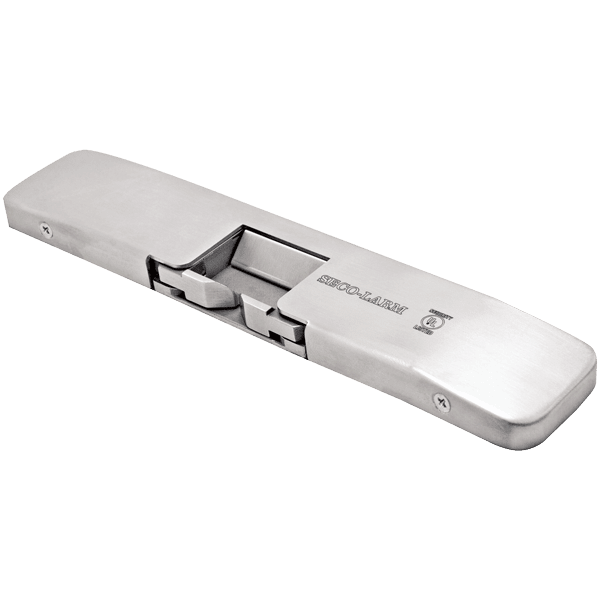
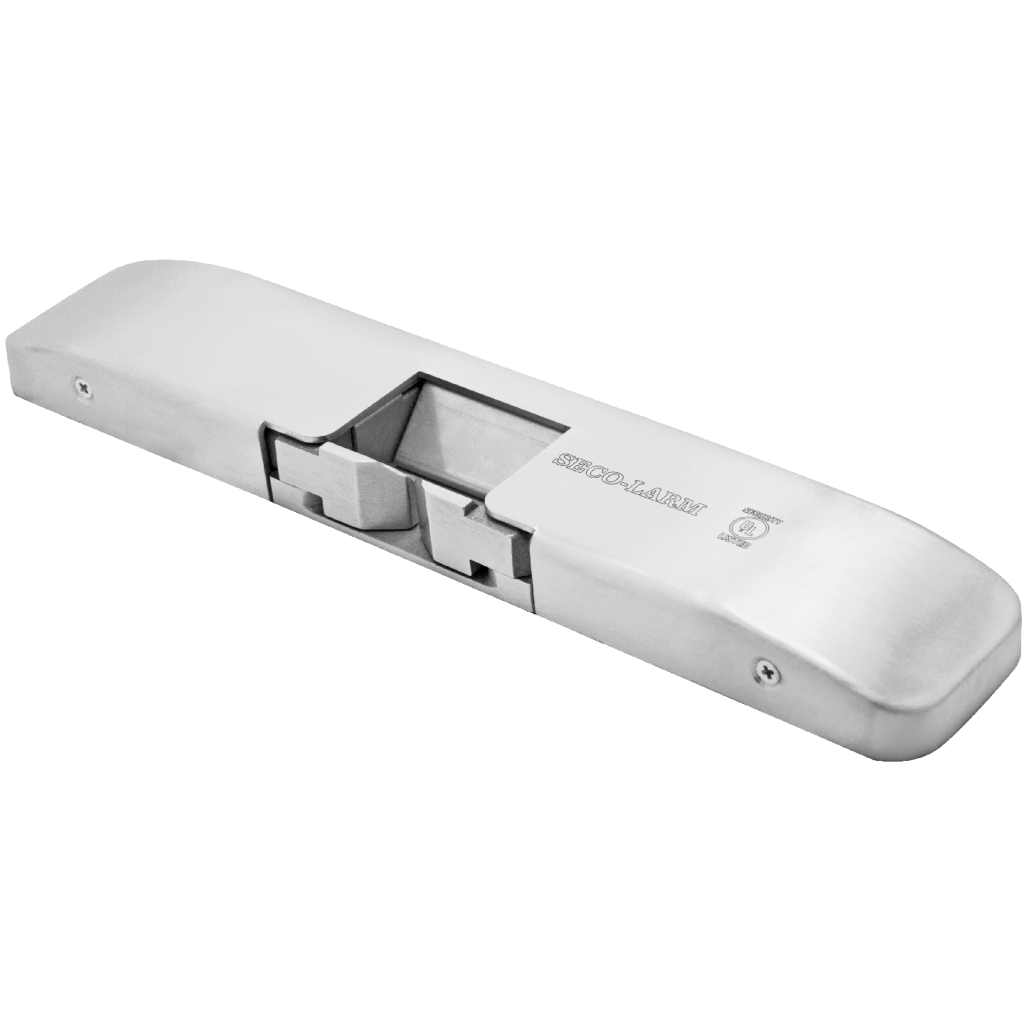
- Se adapta a un pestillo Pullman de hasta 3/4″
- Diseño reversible no manual que se adapta a puertas derechas o izquierdas
- Montaje en superficie en marcos de metal o madera
- Funciona con dispositivos de salida de tipo borde estándar, incluidos SECO-LARM SD-962xR-36A y SD-962xR-36G.
- Sólo para uso en interiores
- Resistencia estática: 1500 lb (6673 N)
- Probado para 250.000 ciclos (probado por UL)
- Bajo consumo de corriente: 540mA@12VDC, 270mA@ 24VDC
- Seleccionable en campo para operación a prueba de fallas o a prueba de fallas
- La serie SD-998C está diseñada para usarse con hardware de salida listado en UL
- La serie SD-998C no afectará el funcionamiento previsto de una unidad de emergencia
- La serie SD-998C no afectará el funcionamiento del hardware de pánico montado en la puerta.
| Operating Voltage | 12/24 VDC |
| Current Draw | 540mA@12VDC , 270mA@24VDC |
| Latch Throw | 1/2″ |
| Static Strength | 1,500-lb (6673N) |
| Dynamic strength | 70ft-lb (95J) |
| Endurance | 250,000 cycles (UL Tested), Level IV |
| Destructive attack | Level I |
| Line security | Level I |
| Standby power | Level I |
| Operating Temperature | 14°~120° F (-10°~49° C) |
| Operating Humidity | 0~85% |
| Dimensions | 9″x1-3/4″x1/2″ (229x45x13 mm) |
FAQs
- Check that the door latch is operating properly, and replace if necessary.
- The position of the electric strike may need to be adjusted by moving it or adding washers or shims.
- Dismount the strike and check that the wiring connector is connected properly.
- Ensure the wiring connector is connected to a 12 or 24VDC source.
- Use a multimeter to test that the strike is receiving the proper voltage and amperage. If it is not, it may be necessary to use heavier gauge wires, or increase the output of the power supply.
- Make sure the activation device (keypad or push-button switch) is working properly.
- Connect the strike to a DC power supply.